The Allure of Maple Ice Cream: Beyond Breakfast
There's something uniquely comforting and sophisticated about maple. Its distinctive, warm sweetness, often associated with lazy Sunday breakfasts and autumnal treats, transforms into a truly exceptional experience when churned into a creamy, dreamy ice cream.
Maple ice cream isn't just a dessert; it's a celebration of a cherished flavor, offering a versatility that stretches far beyond the traditional pancake topping. From rich, velvety smoothness to delightful textural contrasts, homemade maple ice cream promises an indulgence that store-bought versions often can't match.
Whether you're a seasoned ice cream maker or a curious beginner, the journey to creating your perfect maple masterpiece is surprisingly accessible. This guide will walk you through the essential choices – from your preferred base method to innovative mix-ins and toppings – ensuring your homemade maple ice cream is nothing short of extraordinary.
Choosing Your Base: Easy Blender vs. Classic Custard
The foundation of any great ice cream lies in its base. For maple ice cream, you generally have two popular paths: the quick and convenient "blender" method or the rich and classic "custard" method. Each offers distinct advantages in terms of effort, texture, and flavor depth.
The "Easy Blender" (No-Cook) Method: Simplicity in a Swirl
Imagine whipping up a batch of delicious
maple ice cream with minimal fuss and no stovetop cooking. That's the beauty of the easy blender method. This approach typically involves combining all your liquid ingredients – cream, milk, maple syrup (or extract), and perhaps a touch of vanilla – directly in a blender. A quick whirl to emulsify everything, and your base is ready for chilling and churning.
*
Pros:
*
Speed: Significantly faster prep time, as there's no cooking or lengthy cooling period for a cooked base.
*
Simplicity: Fewer steps and fewer dishes make it ideal for beginners or when time is short.
*
Fresh Flavor: Some argue that the raw cream and maple flavors shine through more vibrantly without being cooked.
*
Cons:
*
Texture: Can sometimes be slightly less rich or more prone to ice crystals than a custard base, though proper ingredient ratios and chilling can mitigate this.
*
Stability: May melt a little faster due to the lack of egg yolks acting as an emulsifier and stabilizer.
This method is perfect if you're looking for an immediate gratification dessert. It's also an excellent way to experiment with different maple intensities, whether you're using pure maple syrup or exploring the concentrated punch of maple extract. For more on how these choices impact your final product, delve into our guide on
Real Maple vs. Extract: Crafting Your Perfect Ice Cream.
The "Classic Custard" Method: Richness and Velvety Smoothness
For those who appreciate an undeniably rich, incredibly smooth, and lusciously creamy texture, the classic custard base is the way to go. This method, often referred to as French-style ice cream, involves cooking egg yolks with cream, sugar, and maple syrup to create a thick, velvety mixture. This cooking process, specifically the tempering of the egg yolks, is what gives custard-based ice creams their signature decadent mouthfeel and superior stability.
*
Pros:
*
Unparalleled Texture: The egg yolks create a beautifully smooth, dense, and less icy texture that resists crystallization.
*
Rich Flavor: The gentle cooking process can deepen and meld the flavors, creating a more complex and satisfying taste.
*
Stability: Custard bases tend to melt more slowly and hold their texture better.
*
Cons:
*
More Involved: Requires careful attention during cooking, especially when tempering eggs, to prevent scrambling.
*
Time-Consuming: The base needs significant chilling time (at least 4-8 hours, or preferably overnight) before churning for optimal results.
Steps for a Classic Custard Base:
1.
Combine & Heat: In a saucepan, gently heat cream, maple syrup, sugar, and a vanilla bean (if using) until just simmering, stirring occasionally to dissolve sugar.
2.
Temper Yolks: In a separate bowl, whisk egg yolks until light and fluffy. Slowly, a droplet at a time, whisk a small amount of the hot cream mixture into the yolks to gradually raise their temperature without cooking them.
3.
Combine & Thicken: Pour the tempered yolk mixture back into the saucepan with the remaining cream. Stir constantly over medium-low heat until the mixture thickens enough to coat the back of a spoon and gives off steam. Do *not* let it boil.
4.
Chill: Remove from heat, strain into a clean bowl (to catch any bits of cooked egg or vanilla bean), cover, and refrigerate until thoroughly chilled. This chilling step is crucial for the ice cream's final texture.
Elevating Your Maple Ice Cream: Candied Nuts & Savory Twists
Once you've mastered your base, the real fun begins: customizing your
maple ice cream with delectable additions. While plain maple ice cream is delightful on its own, a few well-chosen mix-ins can transform it into an unforgettable gourmet dessert.
The Irresistible Crunch of Candied Nuts
A classic pairing with maple is walnut, and for good reason! The slightly bitter, earthy notes of walnuts perfectly complement maple's sweetness. However, if you want to take your traditional
maple walnut ice cream to a "whole new level," candying the nuts is the secret. Candied nuts offer an incredible textural contrast – a sweet, caramelized crunch that stands out beautifully against the creamy ice cream.
*
Why Candy Them? The candying process creates a delightful sugary shell that not only adds sweetness but also a satisfying brittle texture that doesn't get soggy in the cold ice cream. It's a simple upgrade that delivers a huge flavor and texture payoff.
*
How to Make Them: It's surprisingly easy!
1. Melt butter in a skillet over medium heat.
2. Add your sweetener (sugar or a sugar substitute for a keto-friendly option) and cook until it forms a syrup.
3. Stir in your preferred nuts – walnuts, pecans, almonds, cashews, or even macadamia nuts – ensuring they're well coated.
4. Spread the coated nuts onto parchment paper or a silicone mat to cool completely and harden. Break into pieces before adding to your ice cream.
*
Pro Tip: Make extra! These candied nuts are so delicious, you'll be tempted to snack on them long before they make it into your ice cream.
Unexpected Pairings: Savory & Sweet Innovations
While candied nuts are a fantastic enhancement, don't be afraid to venture into more adventurous territory. The robust flavor of maple is surprisingly versatile and can beautifully balance savory elements, creating intriguing flavor profiles. Chef Gabriel Rucker’s breakfast-inspired dessert, for example, pairs rich maple ice cream with cornbread, bacon bits, and dried apricots. This concept opens a world of possibilities for
Maple Ice Cream Reinvented: Candied Walnuts & Savory Twists.
Consider these ideas:
*
Bacon Bits: A sprinkle of crispy, savory bacon bits adds a salty, smoky counterpoint that amplifies maple's sweetness. Even a drizzle of maple syrup combined with a touch of reserved bacon drippings can elevate your dessert.
*
Sea Salt Swirl: A pinch of sea salt can bring out the depth of the maple flavor, much like it does in caramel.
*
Bourbon or Whiskey: A splash of your favorite spirit can add a warming complexity to the base, especially when paired with nuts.
*
Spices: A hint of cinnamon, nutmeg, or even a touch of cardamom can introduce a cozy, aromatic dimension.
Tips for Maple Ice Cream Perfection
To ensure your homemade
maple ice cream is consistently excellent, keep these practical tips in mind:
*
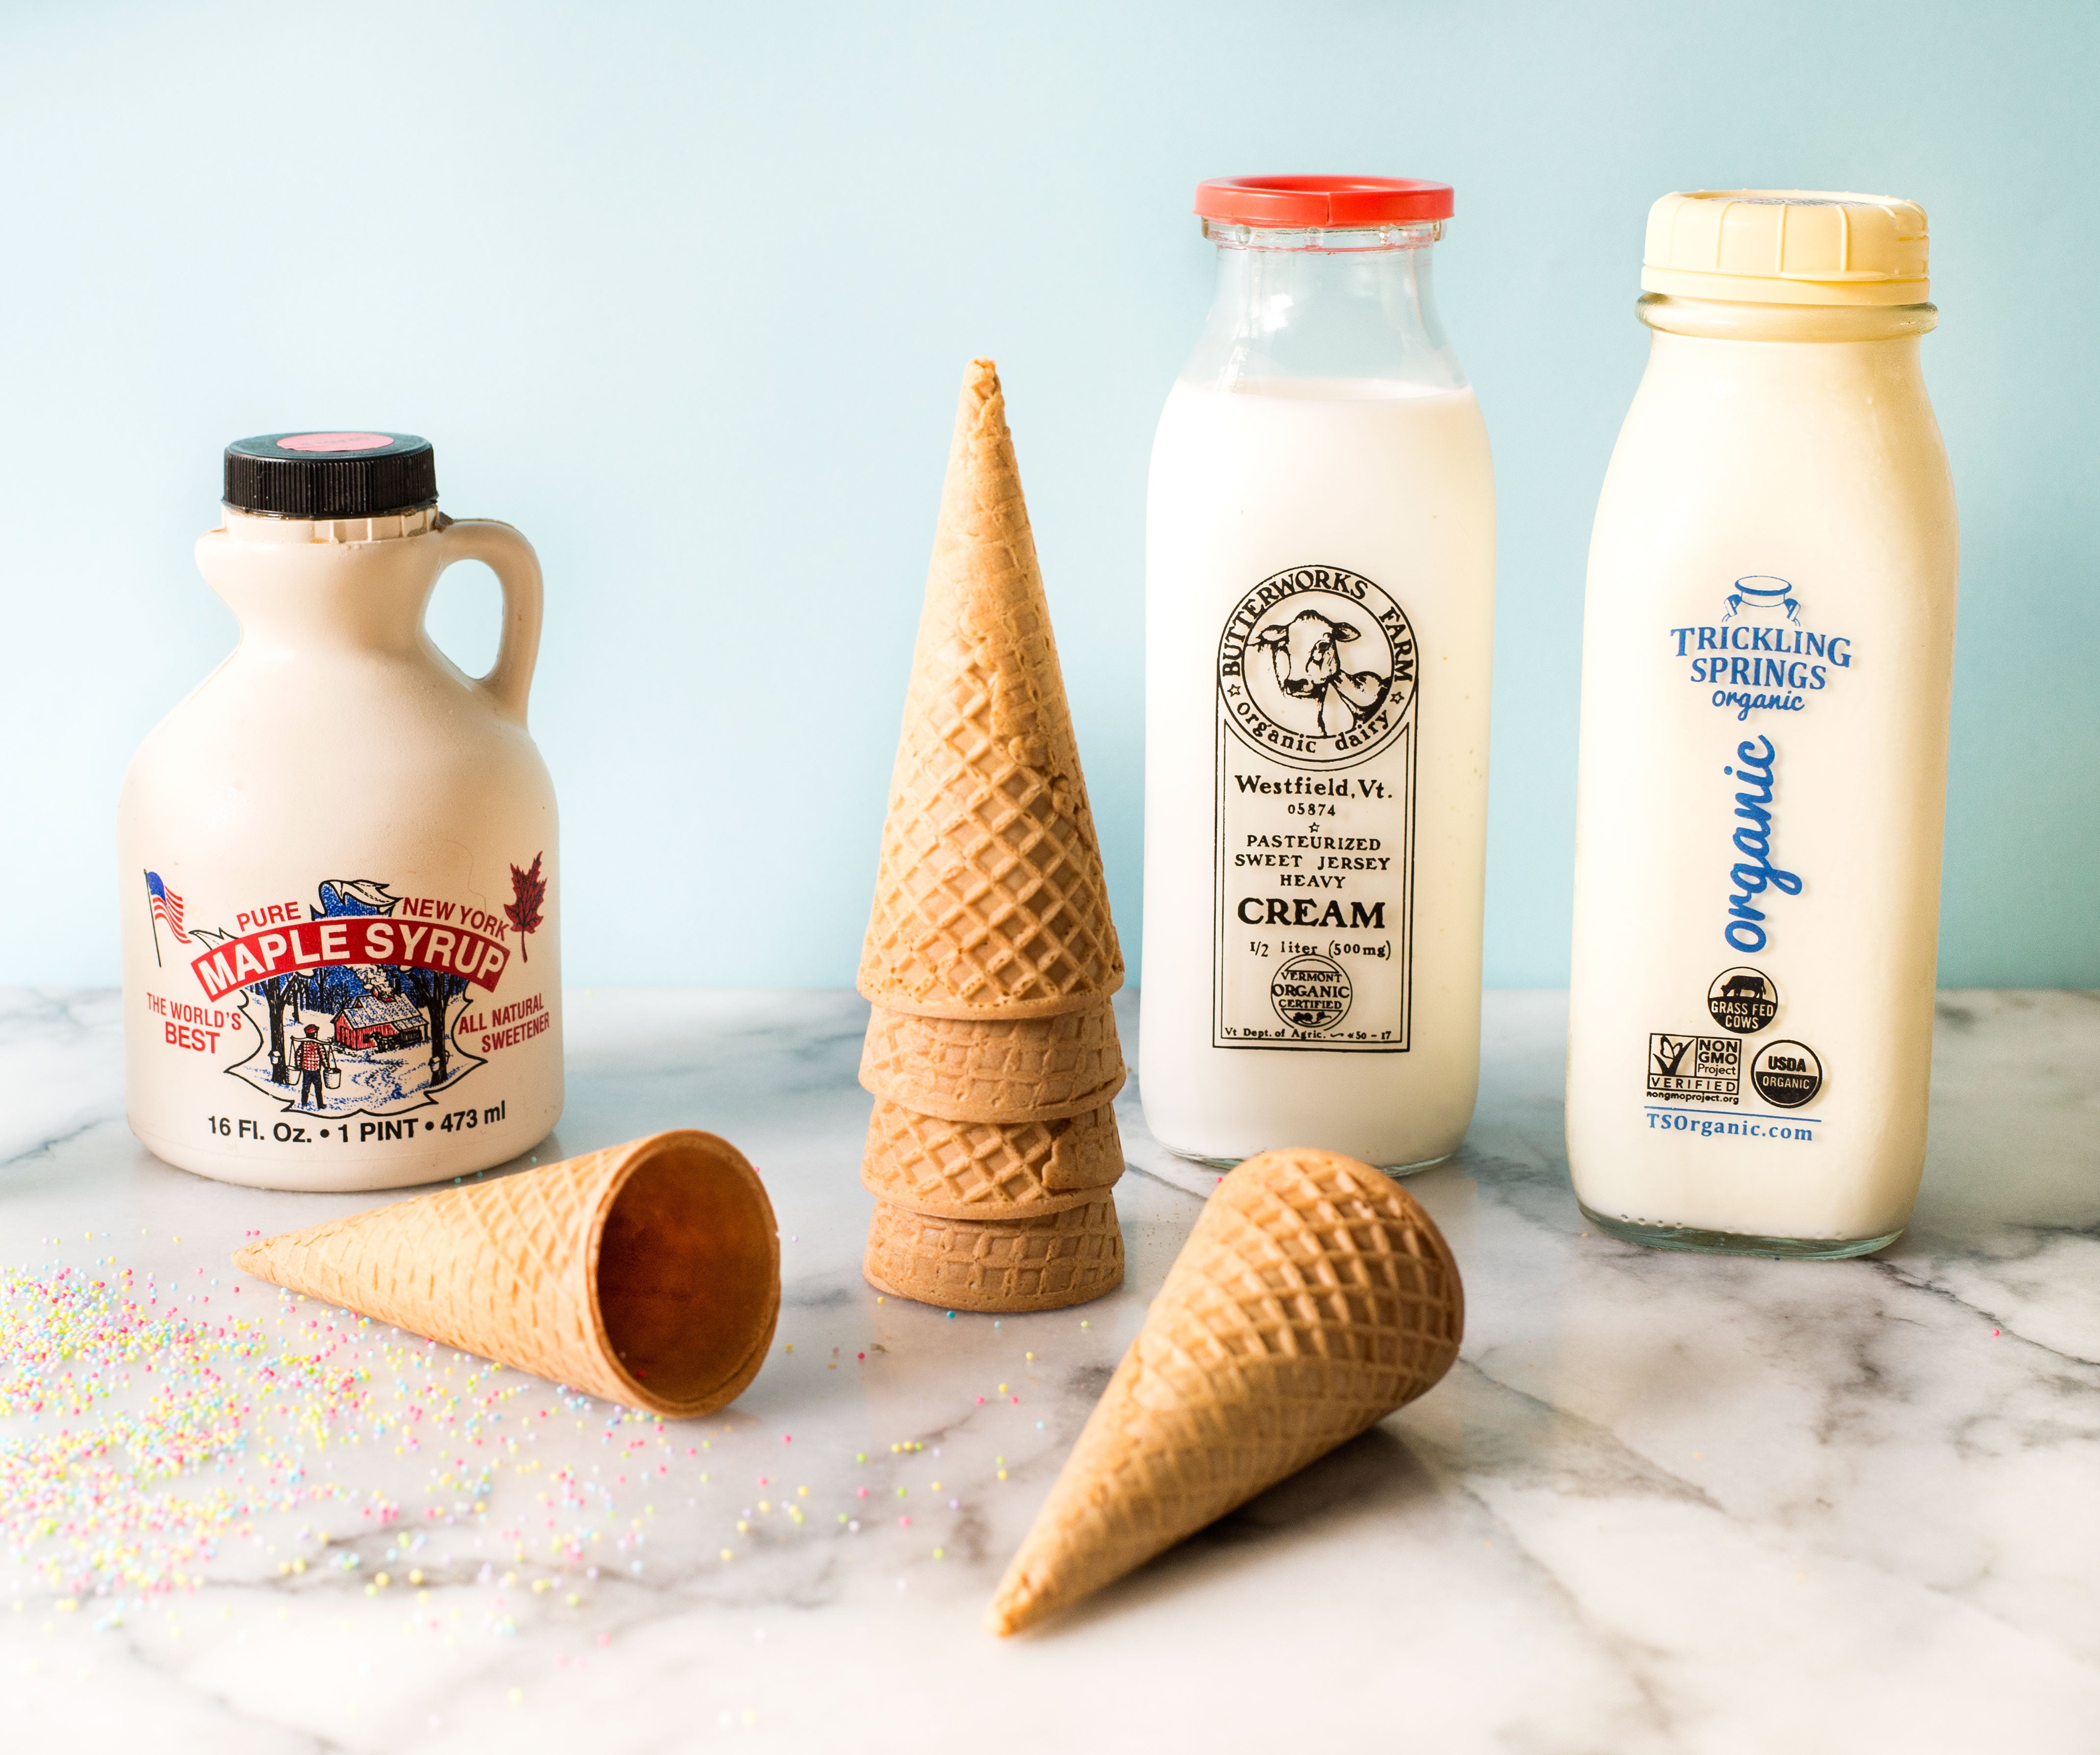
Quality Ingredients Matter: Always use real maple syrup for the best flavor. Grade A Dark, Robust Taste (formerly Grade B) often provides a deeper, more pronounced maple flavor that stands up well to freezing.
*
Thorough Chilling is Key: Whether you choose the blender or custard method, thoroughly chilling your base before churning is non-negotiable. A well-chilled base churns faster, incorporates less air, and results in a smoother, creamier texture.
*
Don't Over-Churn: Churn until the ice cream reaches the consistency of soft-serve. It will continue to firm up in the freezer. Over-churning can incorporate too much air, leading to a brittle, icy texture.
*
Perfect Storage: Transfer your freshly churned ice cream to an airtight container. Press a piece of parchment paper directly onto the surface of the ice cream before sealing the container. This prevents ice crystals from forming on top, keeping your ice cream fresh and smooth for longer.
*
Consider Your Ice Cream Maker: Familiarize yourself with your specific ice cream maker's instructions. Different models have varying capacities and churning times.
Conclusion
Making your own
maple ice cream is a rewarding culinary adventure that allows you to control every aspect of this beloved dessert. Whether you opt for the speedy convenience of a blender base or the luxurious richness of a classic custard, the result is a homemade treat that far surpasses anything you'll find in a store. Experiment with candied nuts for an irresistible crunch, or venture into savory pairings for a truly unique experience. With a little care and creativity, you'll be enjoying spoonfuls of your perfect, creamy, maple-infused bliss in no time. So, fire up your blender or whisk, and prepare to indulge in the sweet, comforting magic of homemade maple ice cream!